
Definition
If you’re going to be a content producer of any variety, then you must have an aptitude for audio recording. Almost no aspect of the modern internet is uncontaminated by audio, and sound is omnipresent in media like television, film, podcasts, video games, radio, video blogs, audio books, etc. In today’s world, many professional activities—like remote meetings, internet training, and social networking—require you to use microphones, computers, and other media devices that reside in the domain of audio recording. So, even if you don’t go into pro audio as a career, the information below should be useful. Let’s begin with a definition.
Audio recording is the process by which sound information is captured onto a storage medium like magnetic tape, optical disc, or solid-state drive (SSD). The captured information, also known as audio, can be used to reproduce the original sound if it is fed through a playback machine and loudspeaker system.
Here’s the basic process for creating an audio recording:
- Sound waves are converted into electricity using a transducer. (Common transducers include microphones, tonewheels, and pickups.)
- The electronic information produced by the transducer is stored via computer program or—many years ago—a tape recorder.
- The captured information—audio—is made audible via playback machines and loudspeaker systems.
This is quite the list of abstractions, so here are some specifics:
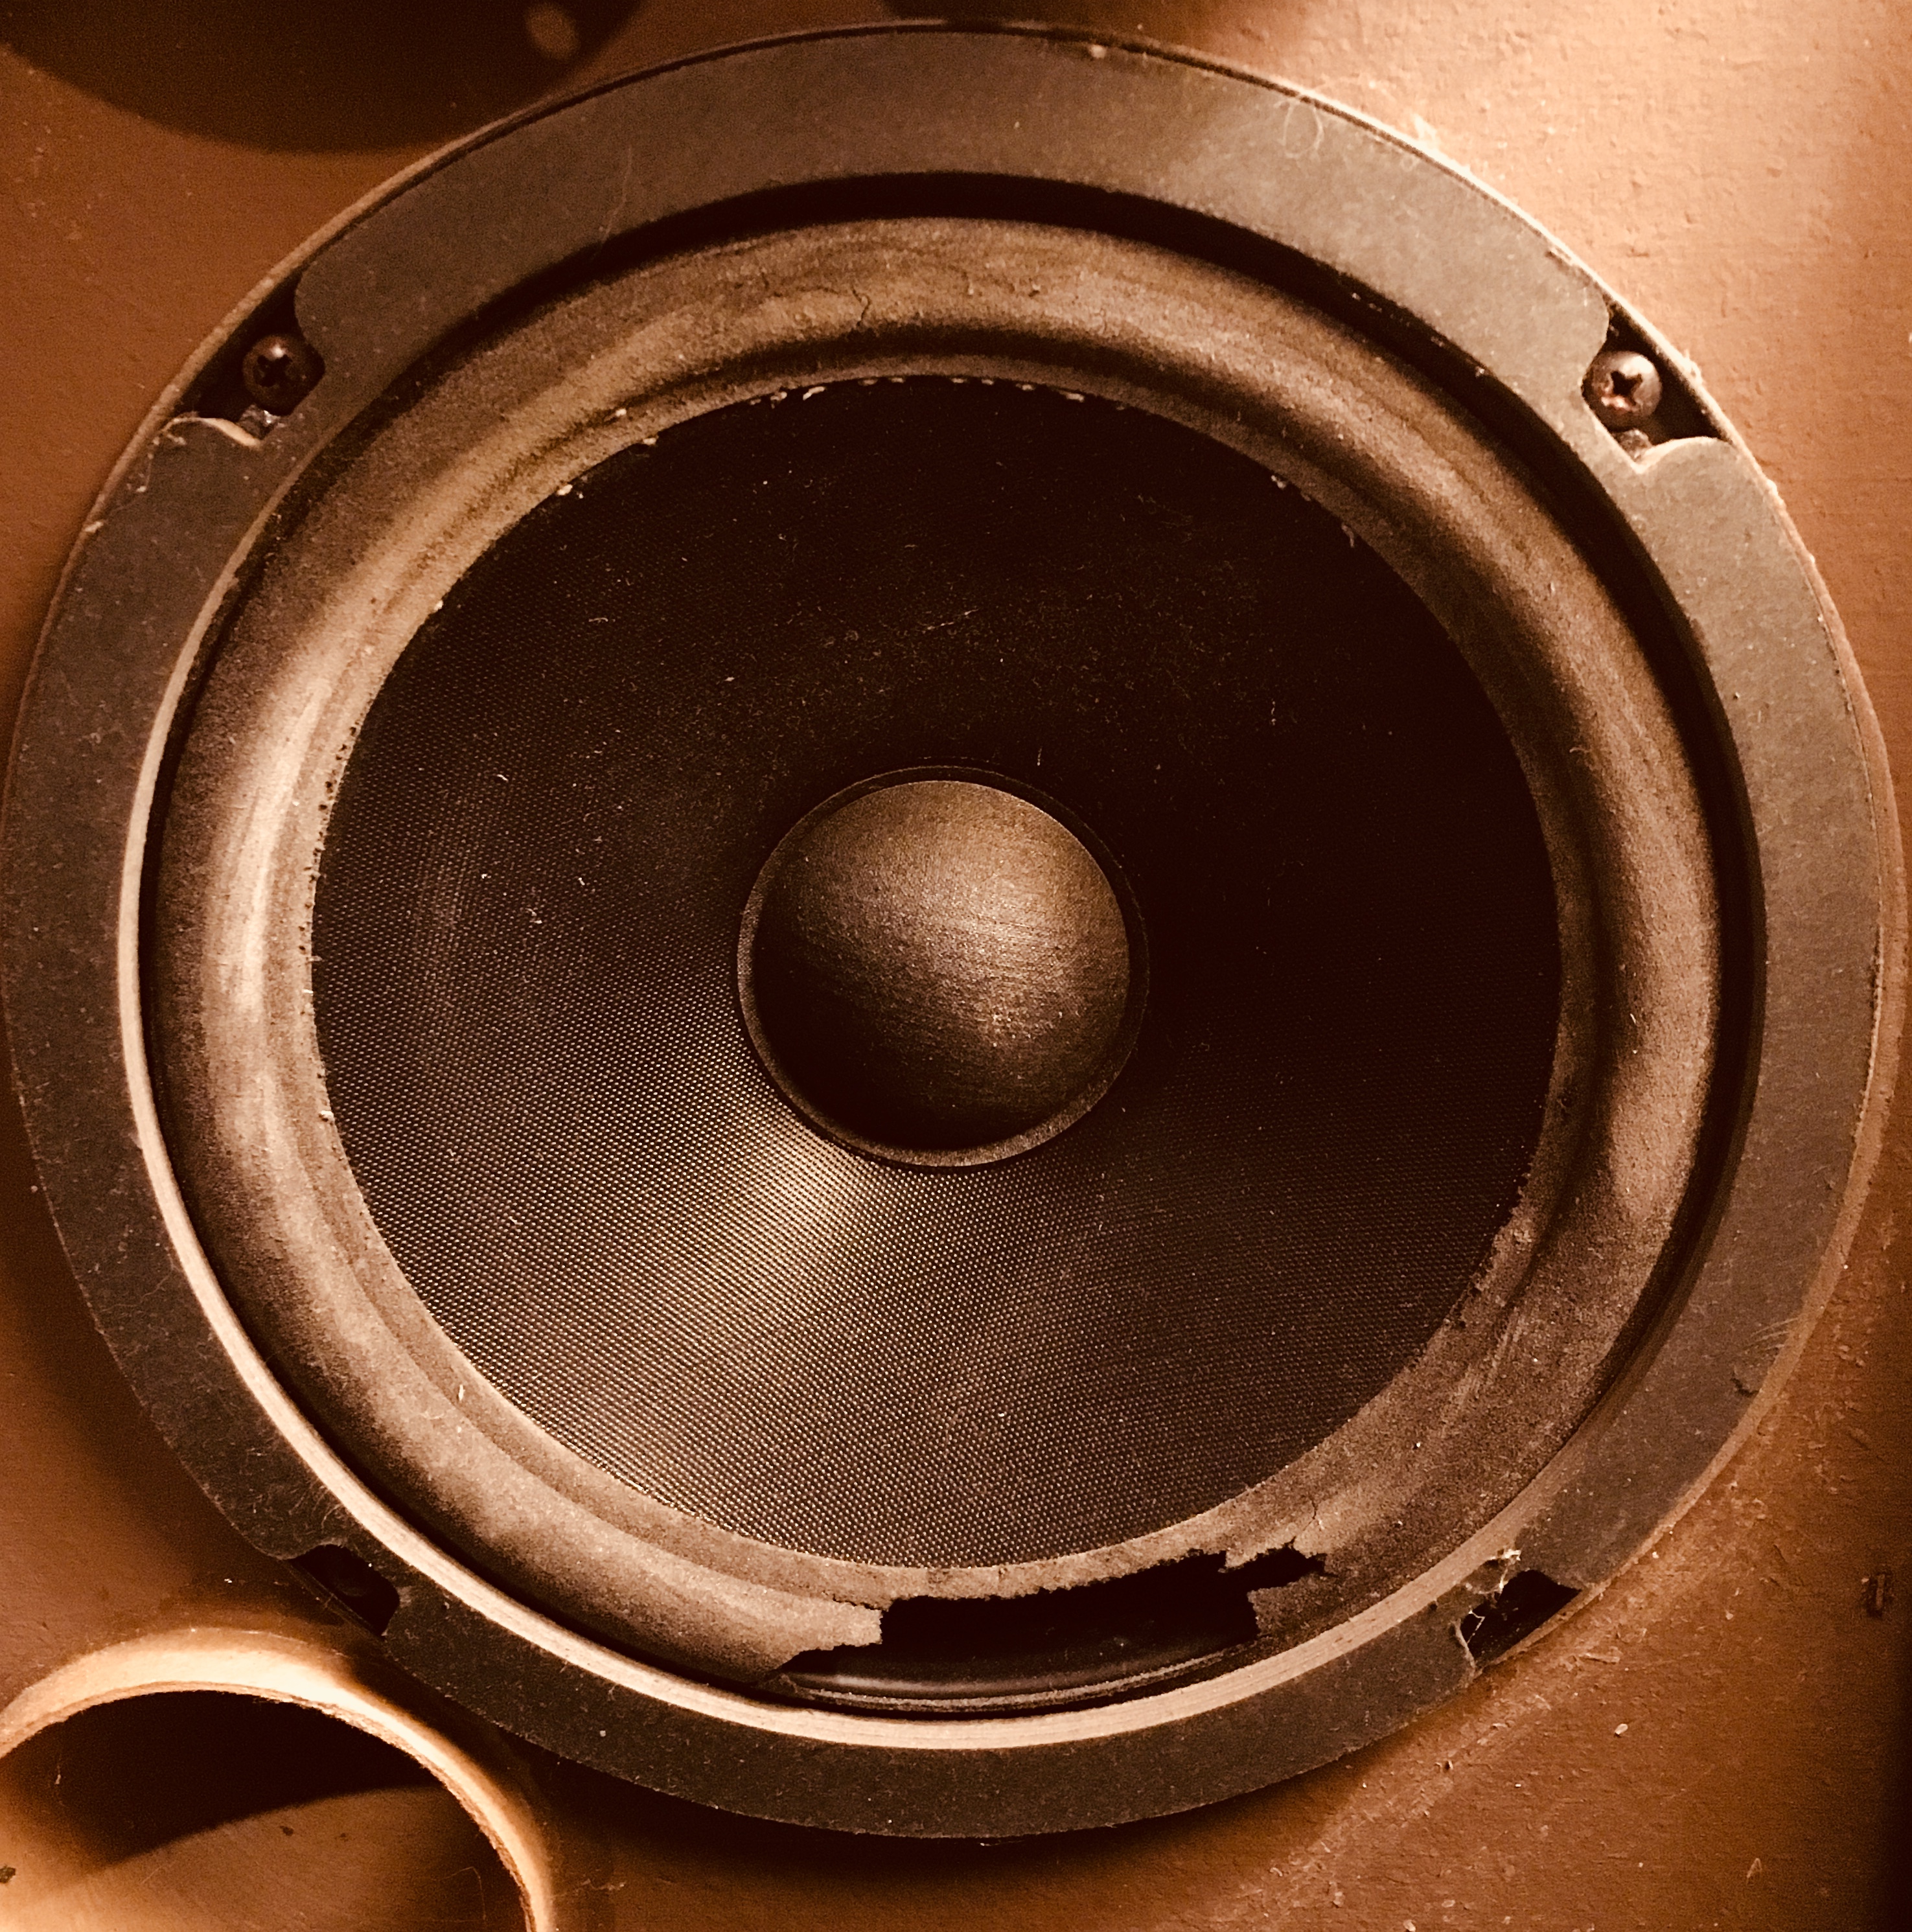
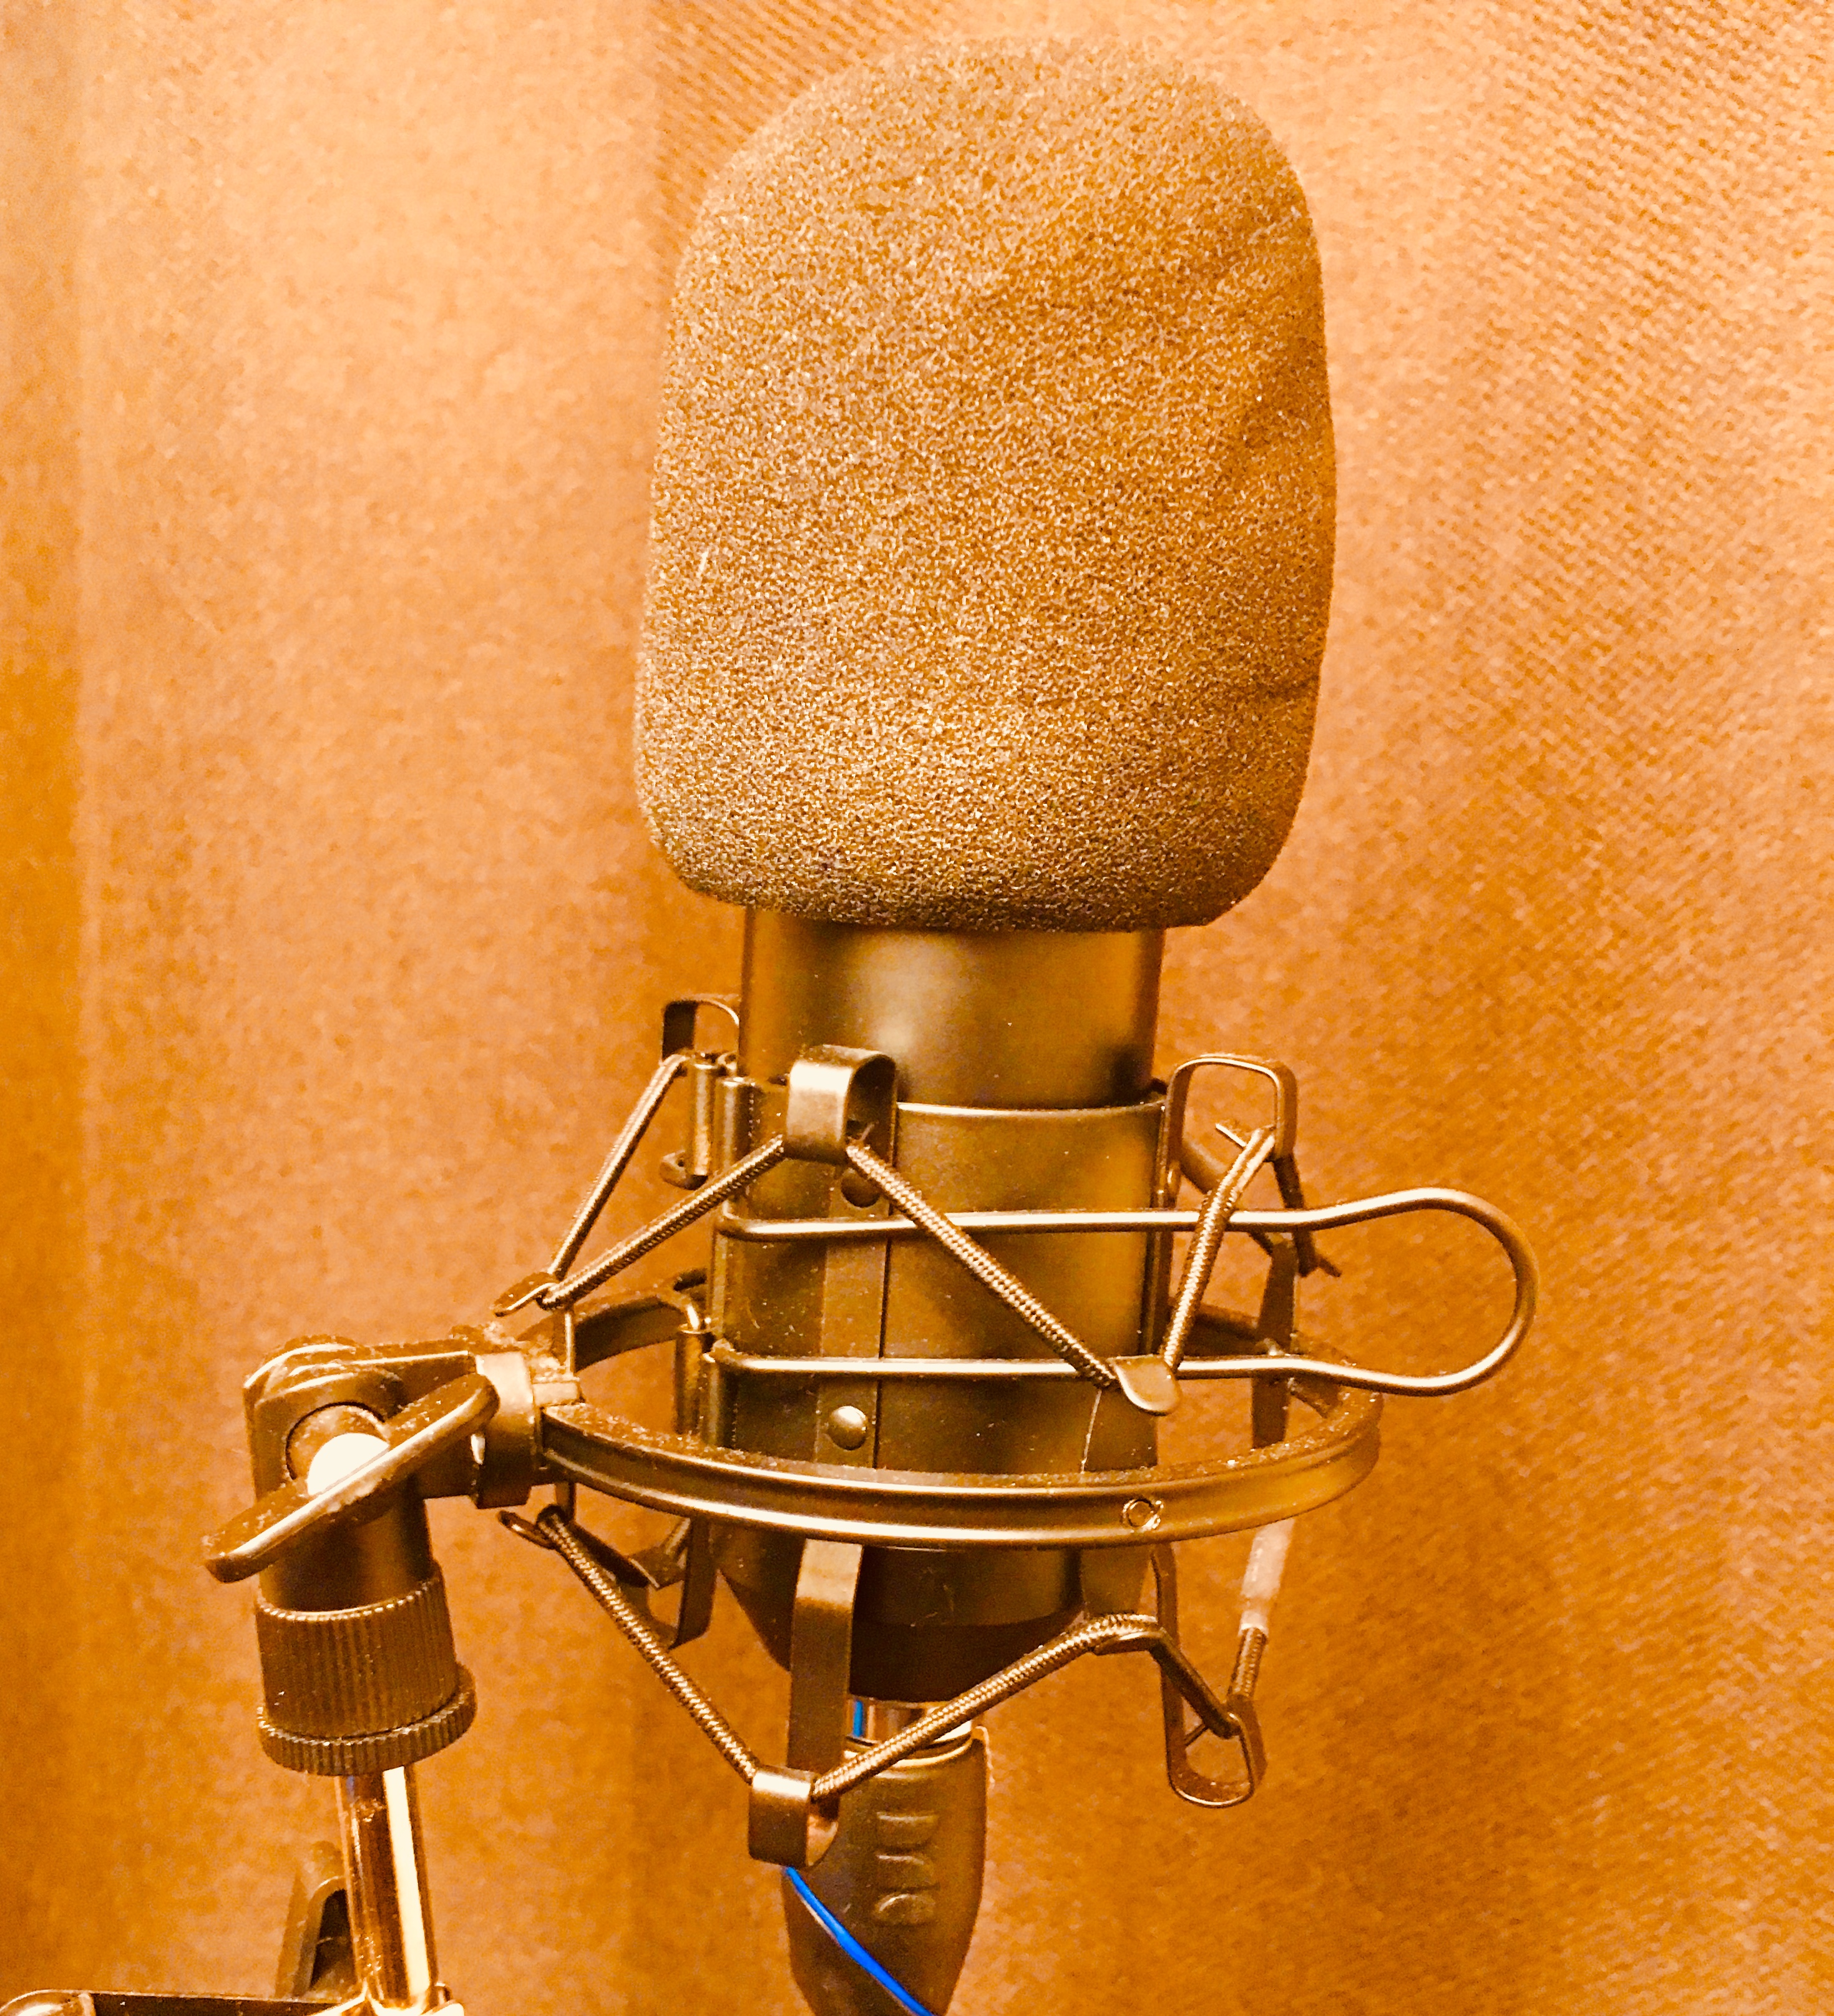
(1) A transducer is an electronic component that turns one form of energy into another. A microphone is one kind of transducer because it turns sound-wave energy into electrical energy, and a speaker is the opposite kind of transducer because it turns electrical energy into sound-wave energy. Other common transducers in the pro-audio world include pickups and tonewheels.
(2) Storing audio these days is done almost entirely with solid state drives (SSD). Gone are the days of storing audio magnetically using analog audio tape or digital audio tape (DAT). For the foreseeable future, audio will be digital and stored on SSDs. To be sure, compact discs, mechanical hard-drives, and other optical drives still exist, but they will soon be relics of the past.
(3) Today, playback machines and loudspeaker systems often take the form of a smartphone and a set of headphones. Many people on Earth consume media this way—dare I say most. Streaming services like Spotify and Apple Music are today’s playback machines, and devices like smartphones and headphones are today’s loudspeaker systems. Yesterday, traditional audio setups included home stereos, car radios, and boom boxes. For the foreseeable future, however, playback machines and loudspeaker systems will consist primarily of smartphones, headphones, and the occasional Bluetooth speaker. Happily, car systems continue to be an important type of playback device. As a musician, you should be pleased if anyone is consuming your music on a car system because they provide some of the highest-fidelity audio playback available.
As mentioned above, all modern audio is digital. Once audio has been converted from analog to digital, it only ever returns to analog when made aloud by headphones or loudspeakers. Everything in between—editing, mixing, mastering, and so on—takes place digitally on a computer running a Digital Audio Workstation (DAW).
Digital audio is produced via pulse-code modulation (PCM), which entails sampling audio and turning it into a digital code that can be interpreted by a computer. Here’s how it works: A computer “listens” to an audio signal at discrete moments (many thousands of times per second) and converts each time sample into a numeric code. The speed at which your computer system performs this conversion describes its sample rate. One of the most common sample rates for digital audio is 44.1 kHz, which means that 44,100 samples are being created every second. That sounds mind-numbingly high, but higher sample rates exist in the realm of pro audio like 48 kHz, 88.2 kHz, and even 96 kHz.
If a sound has a frequency of 20 kHz, say, then the sample rate must be at least 40,000 kHz to accurately capture one complete cycle of the soundwave’s up-and-down movement. This is called the Nyquist theory. Since humans hear down to 20 Hz and up to 20 KHz, a sample rate of 40,000 Hz is the lowest possible sample rate that can be used to accurately reproduce sound. Consequently, 44.1 kHz, which is the most common sample rate, is 4,100 Hz faster than the required minimum.
At bottom, a sample rate is capturing specific amplitude levels in time. These amplitude levels are determined and controlled by bit depth, which refers to how many ones and zeros are contained within each coded sample. For example, four-bit codes have four-digit “sentences” like 1101, 0101, 0011, 0001, 1110, etc. and can yield 16 possible amplitude values.
Similarly, eight-bit codes have eight-digit “sentences” like 11010011, 11010001, 10001111, etc. and can yield 256 possible amplitude values.
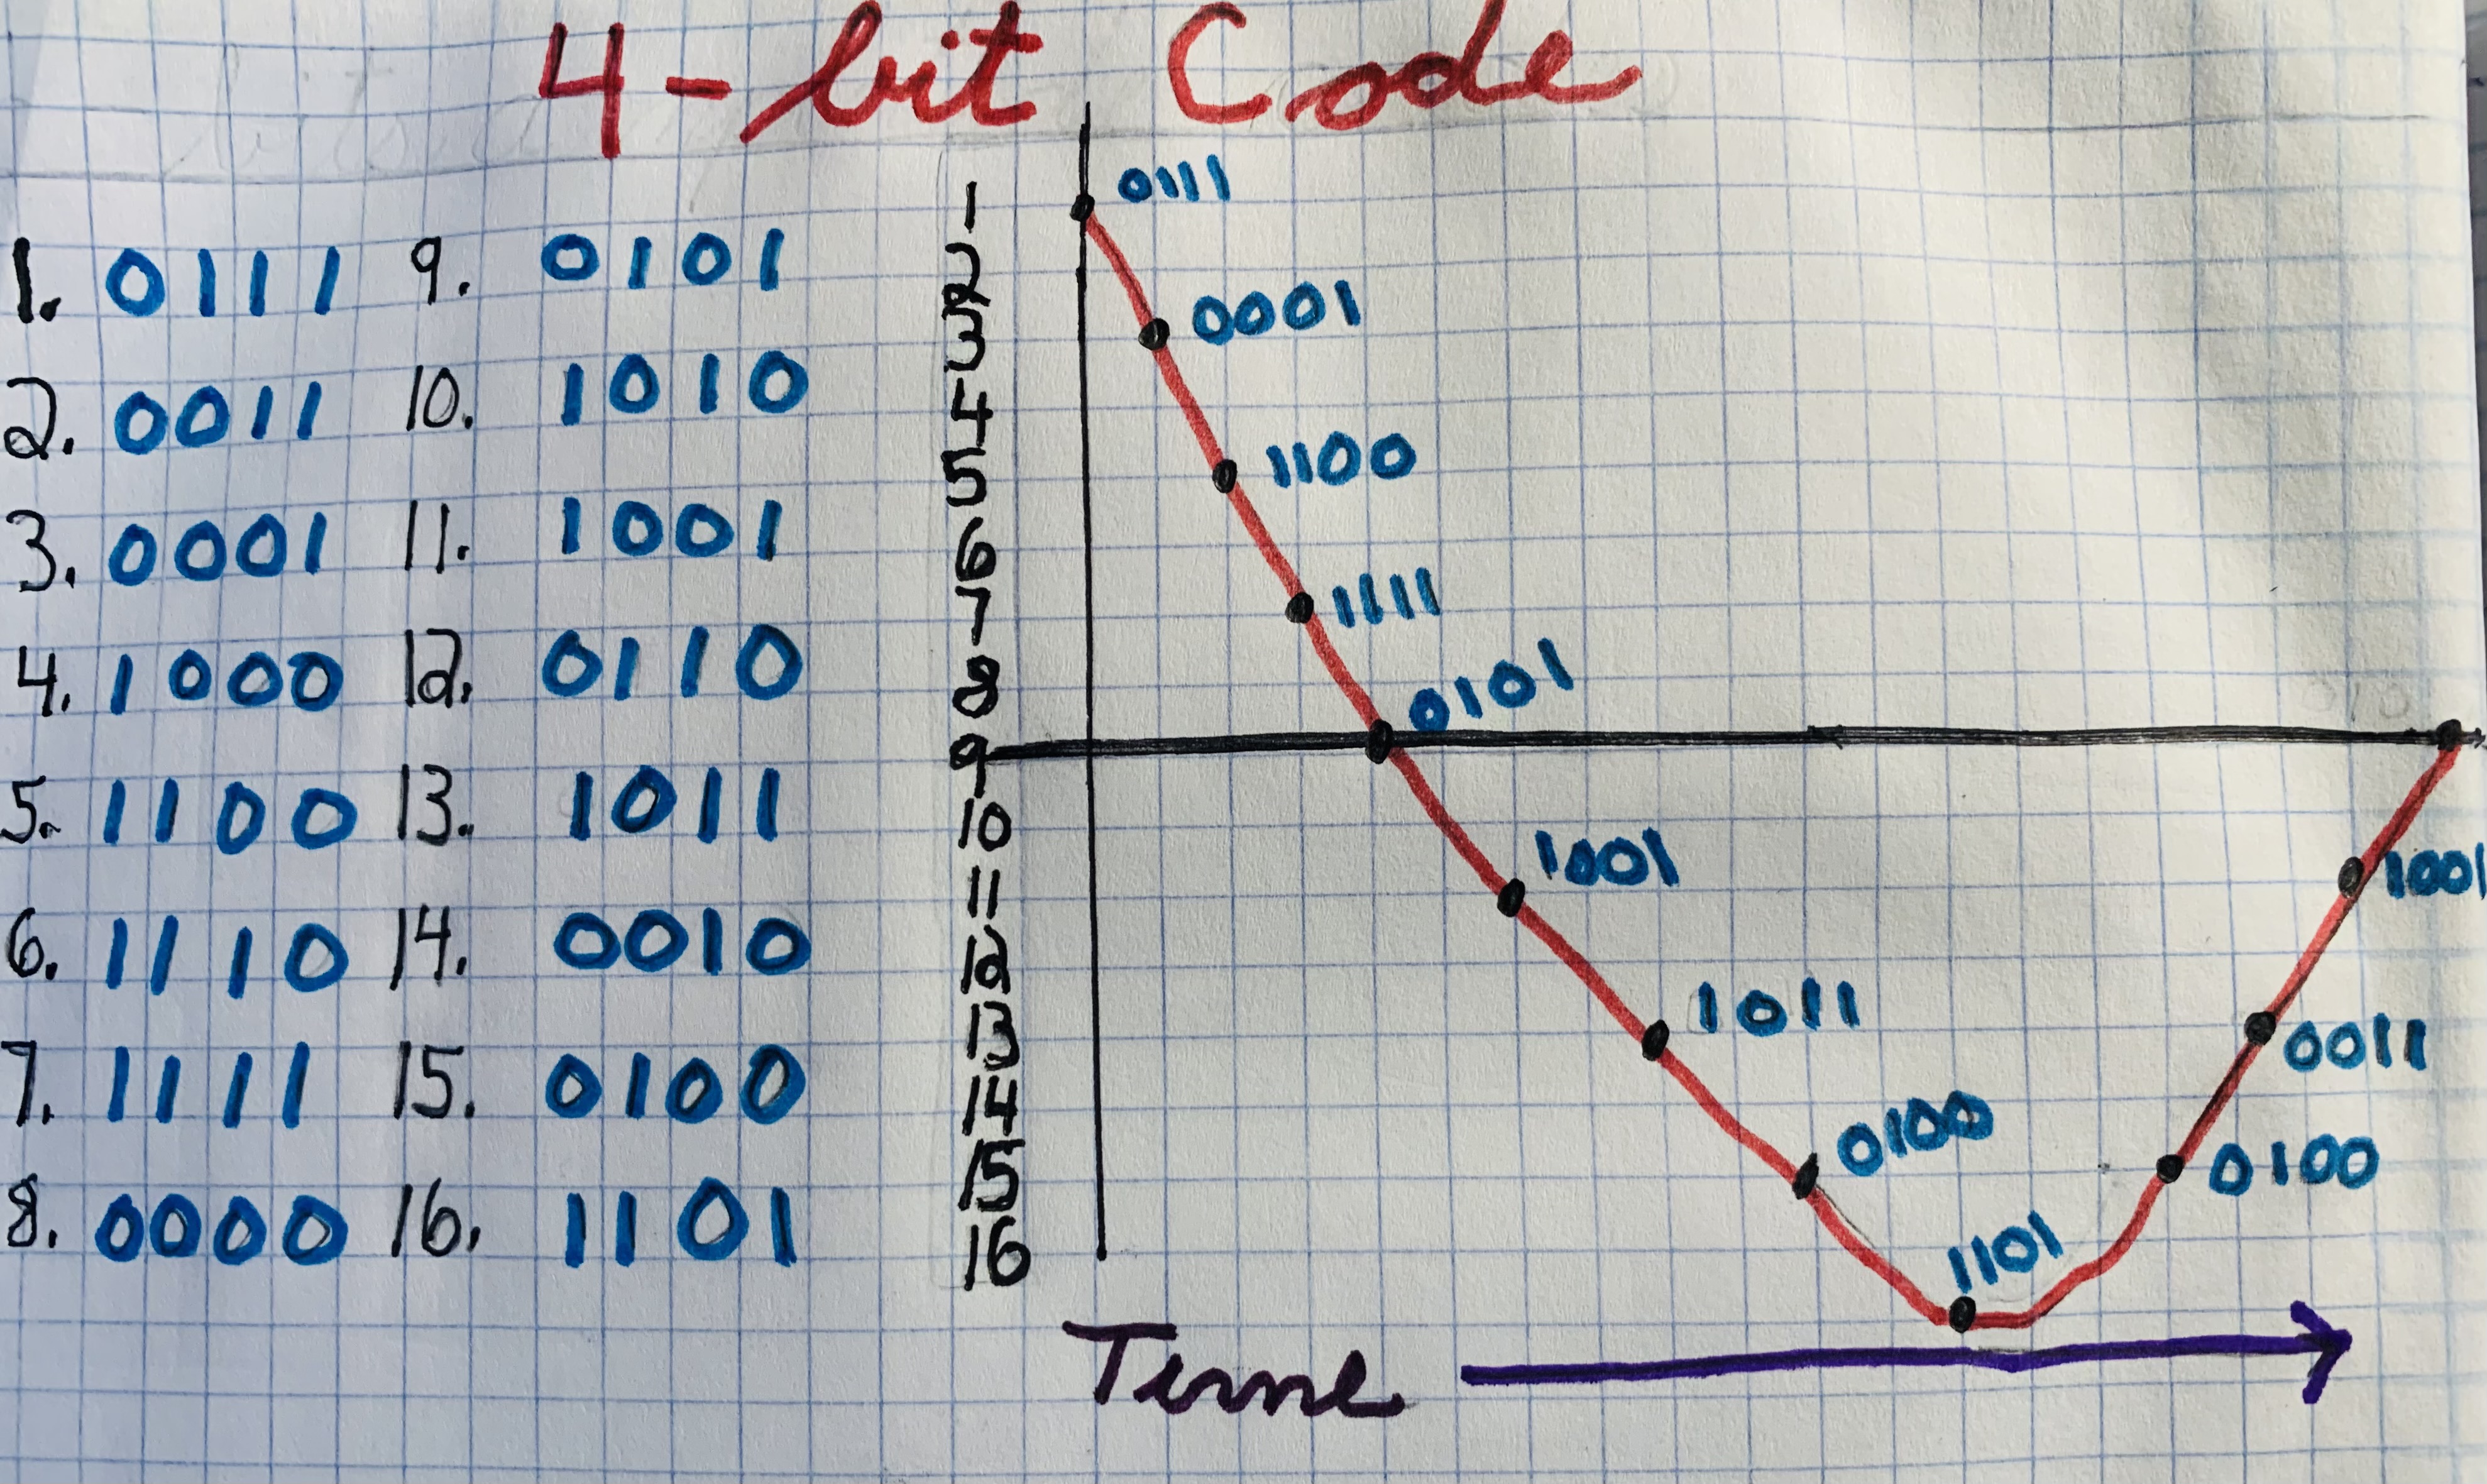
Sixteen-bit code delivers a whopping 65,536 possible amplitude values. So, with a sample rate of 44.1 kHz and a bit depth of 16, a point is plotted 44,100 times per second at one of 65,536 possible amplitude values.
The recreation of the source soundwave, then, occurs as a connect-the-dots style pointillism. Consequently, digital audio is pixilated. But no human can detect this pixilation, especially at high sample rates and bit depths.

When producing digital audio, it is important to be clear about your system’s bit depth and sample rate configuration, especially if you are sharing files. Problems may occur if you change the sample rate and bit depth of your audio project. When you make such changes, your system must employ a process called dithering to maintain the integrity of your sound. But dithering often results in slight temporal distortions to your audio file. You’ll notice these time deformities if you try synching audio files that were gathered at disparate sample rates and bit depths.
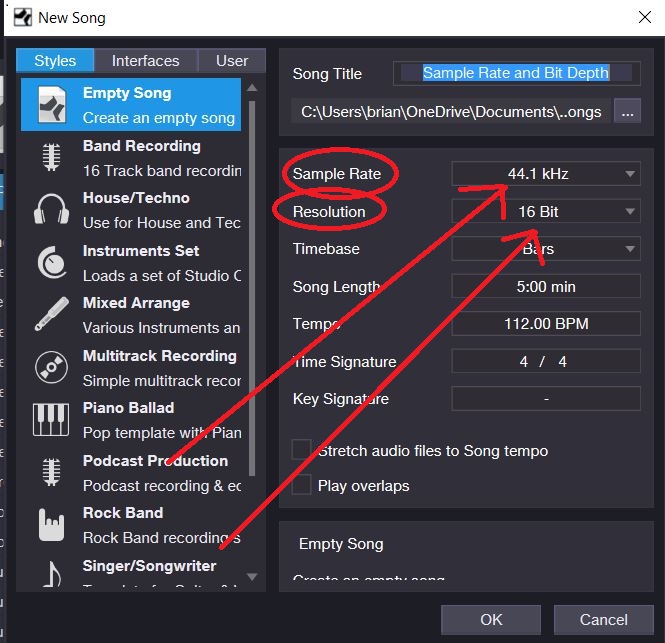
The best practice here is to decide on one sample rate and bit depth and stick with through the duration of your project. When you are prepared to export your final mix, you should do so at 44.1 kHz and 16 bits. This is the industry standard for music distribution including compact discs and streaming services like Spotify.
An essential piece of gear for audio recording is a device called an analog-to-digital converter, which transforms microphone, instrument, and line-level signals into digital audio.
Another essential tool is a Digital Audio Workstation (DAW), which is a computer-based program capable of editing, mixing, and finalizing audio files. Common DAWs include Pro Tools, Cubase, Studio One, Logic Pro, and Garage Band. There are many others, of course, but they all perform basically the same set of tasks.
If you are to take the art and craft of audio recording seriously, you must own both an analog-to-digital converter and a DAW. A collection of microphones, boom stands, and pro audio cables would also be useful.
Next, we’ll explore the basic process of recording, mixing, and finalizing music.
Process
The first step in the recording process is to convert musical sounds into electricity using microphones and other transducers. Next, the audio is routed through an analog-to-digital converter and into a DAW for mixing and processing. Last, the captured music is finalized by the DAW as a single audio file featuring two distinct channels: a left and a right. Such an audio file is what gets streamed on Spotify or burned to compact disc.
To successfully record musical audio, you need to set up a guide track. Guide tracks usually come by way of (1) click track, (2) drum loop, or (3) scratch track. A click track is a metronome. A drum loop is a four-to-eight measure drum passage that’s been designed to recur seamlessly ad infinitum. A scratch track is a live version of a song recorded while the drummer listens to a click track and the rest of the band (or parts of the band) play along. Drums and bass are commonly recorded this way—that is, as part of a scratch track, or basic track—and the combination of these two instruments is often called a rhythm track.
After the rhythm track is completed, the next step is to add the harmony, which is the music’s chord sequence. The harmony, which is usually provided by guitar, piano, or synthesizer, consists of simultaneously occurring notes. Incidentally, sometimes the harmony is added along with the rhythm track. But, just as often, it is added separately as an overdub. After adding harmony, you need to add melody, which is a pitch sequence provided by vocals or lead instruments like trumpet, saxophone, synthesizer, guitar, etc. Often, another type of melody, known as a supporting melody, is added to a song’s already existing mixture of harmony and melody. These secondary tunes are typically provided by guitars, keyboards, strings, and background vocals.
Last, nuance, color, and flare are added via sound effects, drum fills, hand claps, auxiliary percussion, and many other varieties of ornamentation.
After basic tracking is over, the next order of business is to edit the musical content for form and style. This means that you must remove all mistakes, nudge the performances into alignment with the click track, tune all lead instruments and vocals, alter the arrangement, and remove unwanted noises like mouth sounds and amplifier hiss.
Signal processing, which usually comes after editing, consists of running your captured audio through electronic components meant to adjust volume level, dynamic character, and frequency response. Common signal processors include compressors, limiters, equalizers, reverbs, delays, expanders, and gates. If done well, signal processing will result in a more refined and brilliant character of audio. In fact, signal processors are largely responsible for the hyper-real and three-dimensional style of audio common to modern pop music.
The last step in the audio-recording procedure is to finalize your file. This occurs when you condense all editing and processing down to a single audio file, usually one that’s in stereo. Common verbs for this procedure are bounce, export, mixdown, finalize, and export mixdown. On my DAW, I set the export range to the length of the track and select export mixdown. Most DAW’s function similarly. Once I’ve exported a stereo file from my DAW, I have an audio file that’s ready for uploading, sharing, or use in another media project.
Any further processing that’s made to your finalized audio constitutes mastering, which entails applying dynamic processors and equalizers to stereo files.
Conclusion
The goal of this blog post was to introduce the concept of audio recording and lay out the basic process for recording music. But I barely scratched the surface of either topic; there’s much more to learn. Indeed, to gain a mature understanding of audio recording and music production, you’ll have to spend many years recording and producing. I’ve been pursuing this skill since the first Bush administration—Herbert Walker’s, that is—but I’ve still got a lot left to learn.

I’m still so confused it would be nice if you put it into very simple words that kids could understand